Skip
The Skyrim Special Edition comes with 5 master files (*.esm):
All files except Skyrim.esm have to be cleaned before installing any mods covered by this guide.
For this launch Mod Organizer 2 from your desktop shortcut
Select SSE Edit Cleaning we have created in chapter 1.3.4 SSEEdit and click on Run

Select Update.esm as shown below and click OK

Wait until the process is finished (it can take some times), when done you should see this screen.
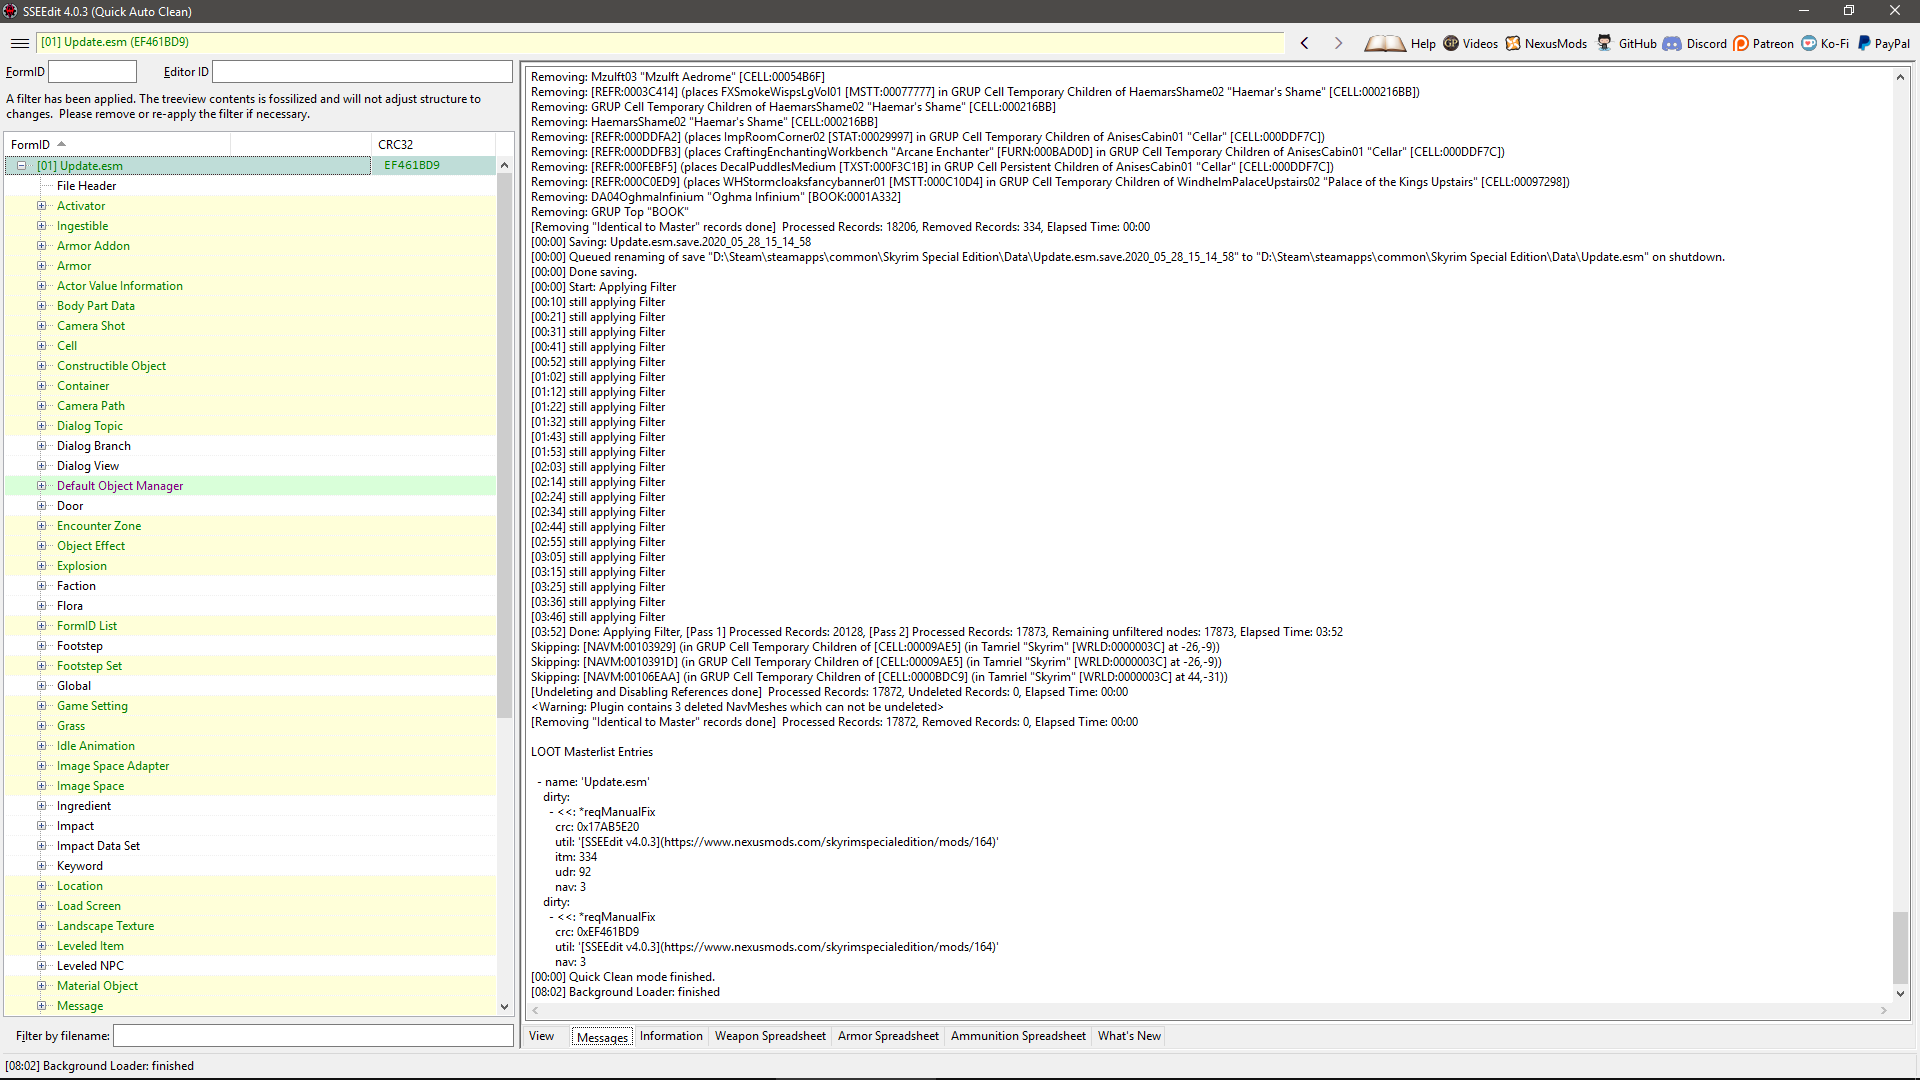
You can close SSEEdit.
Select SSE Edit Cleaning we have created in chapter 1.3.4 SSEEdit and click on Run
Select dawnguard.esm as shown below and click OK

Wait until the process is finished (it can take some times), when done you should see this screen.
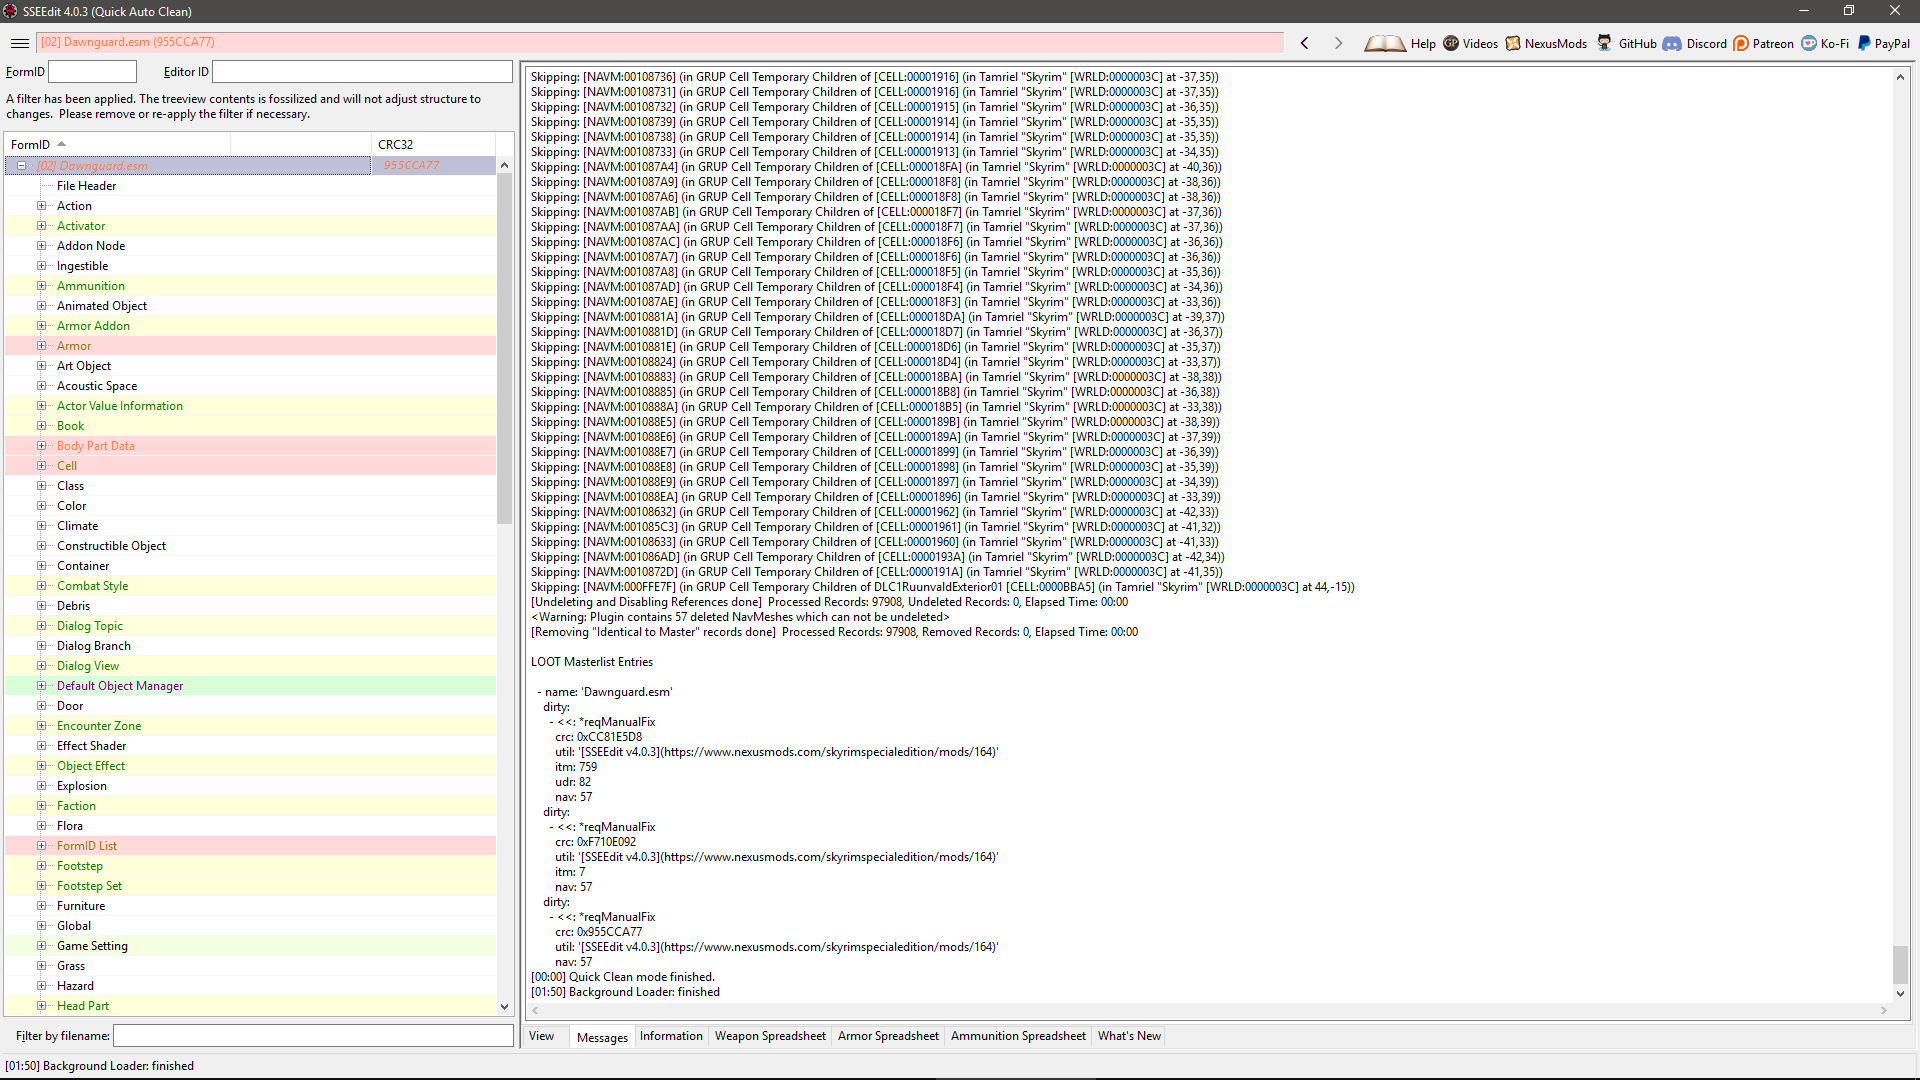
You can close SSEEdit.
Select SSE Edit we have created in chapter 1.3.4 SSEEdit and click on Run
Warning!!!
Select SSE Edit and not SSE Edit Cleaning

Select dawnguard.esm as shown below and click OK

Wait until you see this screen

Double-click Dawnguard.esm. Navigate to Cell\Block 5\Sub-Block 3\00016BCF RiftenRaggedFlagon
Scroll down to the red highlighted XEZN - Encounter Zone RiftenRatwayZone, right-click and select Remove

Click on Yes I'm absolutely sure

You should see this result

Navigate to Cell\Block 2\Sub-Block 1\0001FA4C CWGuardTemplates. Then right-click the record and click Remove

Click on Yes

You should see this result

Navigate to Cell\Block 8\Sub-Block 1. Then right-click the record and click Remove

Click on Yes

You should see this result

Close SSE Edit, this screen should appear, click on OK

Select SSE Edit Cleaning we have created in chapter 1.3.3 SSEEdit and click on Run
Select heartfires.esm as shown below and click OK

Wait until the process is finished (it can take some times), when done you should see this screen.
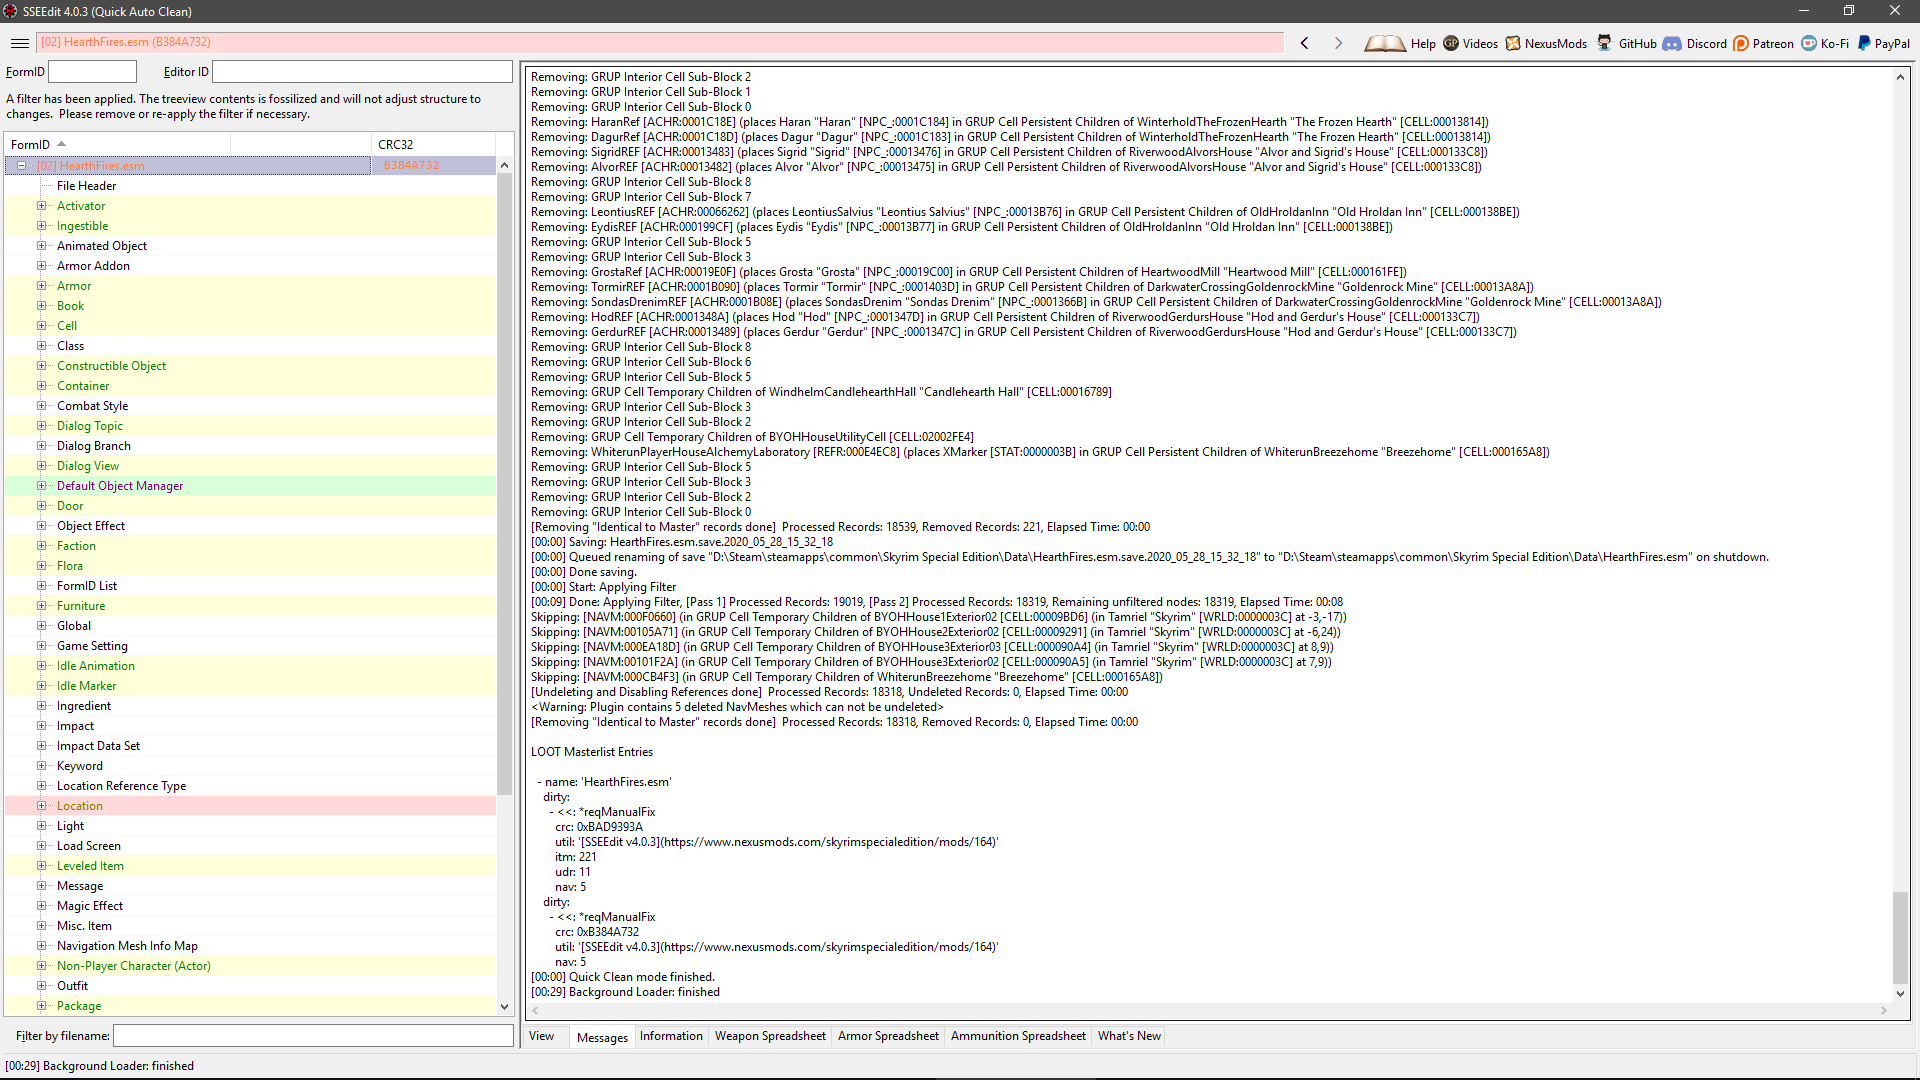
You can close SSEEdit.
Select SSE Edit Cleaning we have created in chapter 1.3.4 SSEEdit and click on Run
Select dragonborn.esm as shown below and click OK

Wait until the process is finished (it can take some times), when done you should see this screen.

You can close SSEEdit.
When processing SSE Edit creates some files, these files are used for faster further processes.
When using Mod Organizer 2 every files created are stored inside the overwrite directory.
You can see if your overwrite folder contains some files when you see this icon at the top right corner of Mod Organizer 2.

Right Click on overwrite and select create a mod
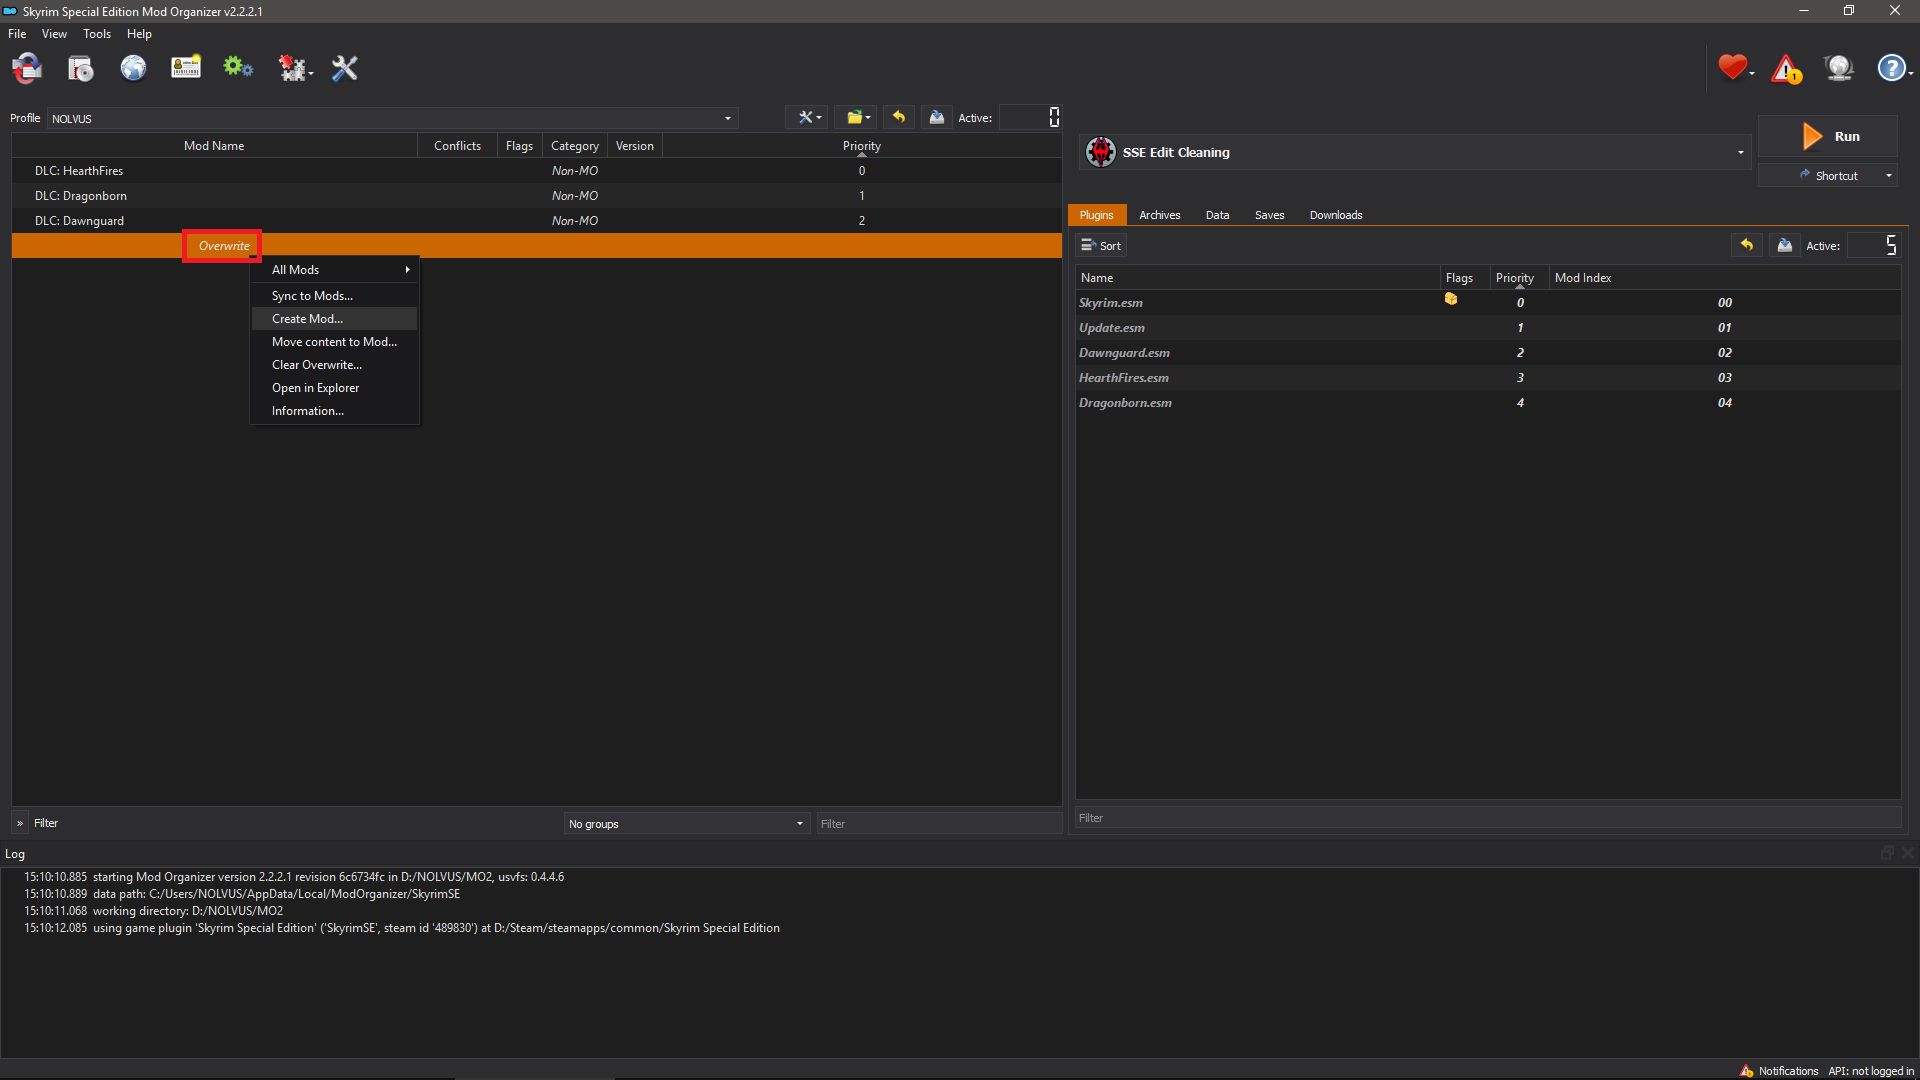
Give the name SSE Edit Data and click on OK

Check SSE Edit Data

Select edit in the right combobox

Select SSE Edit and add the argument -c:"[SSD]\NOLVUS\MODS\mods\SSE Edit Data\SSEEdit Cache\" where [SSD] is your dedicated SSD drive letter.
With this argument enabled SSE Edit knows out to find and create cache files.

Your Skyrim is now ready to be modded.
Loot will tell you that some mods covered by this guide need cleaning.
If you like my work please subscribe to my Youtube chanel, it helps a lot!
If you want to actively support Nolvus, you can become a Patreon and get more benefits!
PatreonPatreonPatreonIf you want to give some support to help keep this web site running and constantly updated click on the button below.
Donations are not mandatory but highly appreciated
DONATEDONATEDONATEVMP Corporation 200,00 EUR
SebCain 181,44 EUR
Ragnar the Red 153,39 EUR
Jerilith 130,00 EUR
Dark Dominion 110,00 USD
aMasTerMiiNd 100,00 USD
werwin1 100,00 EUR
Bazhruul 100,00 EUR
TheGeorge1980 100,00 EUR
lxlmongooselxl 100,00 USD
Kevin K 88,00 EUR
Corrupt Bliss 80,67 EUR
Halo 80,00 EUR
CYRIL888 60,00 EUR
Illusive Bro 60,00 EUR
renekunisz 50,00 EUR
Discrepancy 50,00 EUR
Lodreyon 50,00 EUR
Daskard 50,00 EUR
GarbrielWithoutWings 50,00 USD
Vonk 50,00 USD
Bryan W 50,00 USD
Thanks a lot to all of them!
Subscribe to our News letter if you want to be noticed for guide updates.